If your computer is showing the wrong date or time then you will face significant difficulty in some applications especially if you are browsing. In order to fix this issue follow these simple fixes and your computer will be showing the right time and date just like before.
Fix-1 Set time automatically-
You can always enable your computer to show time automatically
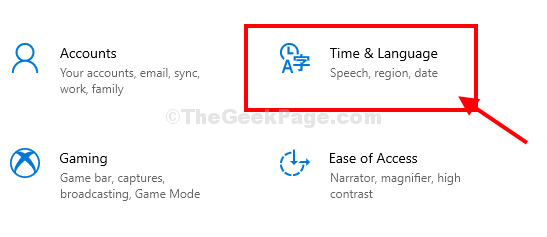
1. Press Windows key+I together to open the Settings window on your computer.2. Now, click on “Time & Language” in the Settings window.
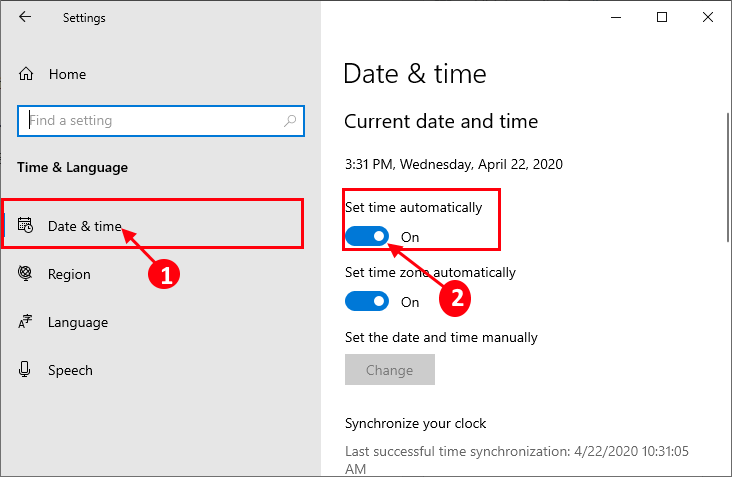
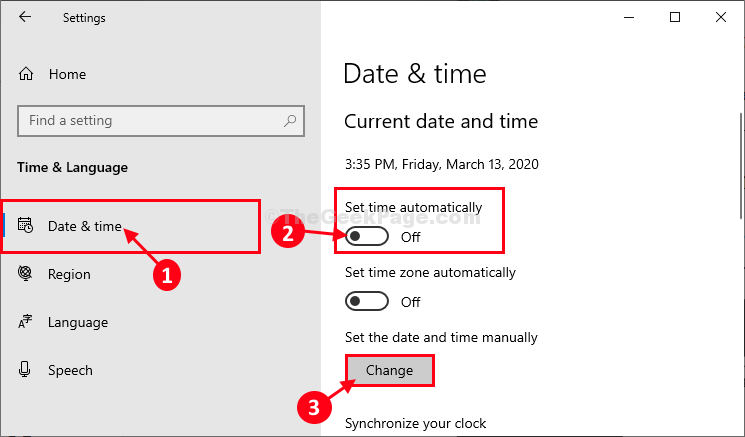
3. In the Settings window, on the left-hand side click on “Date & time“.
4. Now, on the right-hand side of the same window, under Current date and time settings, toggle “Set time automatically” to “On“.
Close the Settings window and restart your computer.
Check if it works or not.
For Windows 11 users
1 – Open Windows search and Type Change the date and time in it and click on search result.
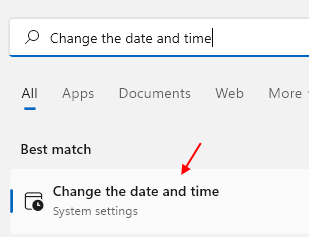
2 – Make sure the Set time automatically option is turned to “On“.

Fix-2 Automate Windows Time service-
Automate Windows Time service on your computer.
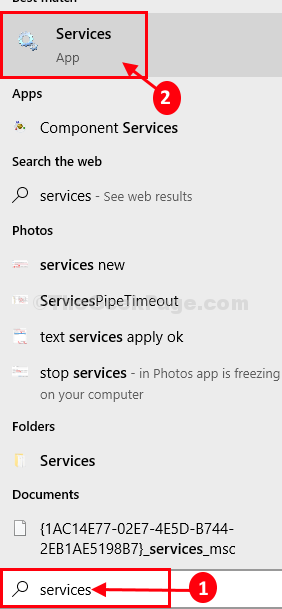
1. Click on the Search box beside the Windows icon and then type “services“.
2. Now, click on “Services” in the search results to open the Services window.
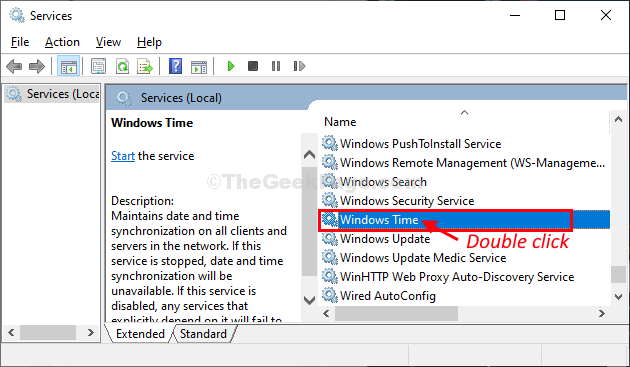
3. In the Services window, scroll down and double click on “Windows Time“.
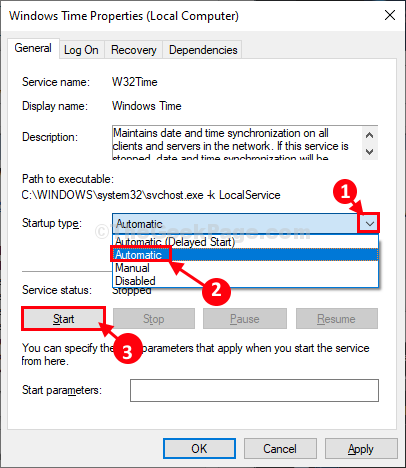
4. In the Windows Time Properties window, click on ‘Startup type:‘ and then choose “Automatic” from the drop-down list.
5. Now, click on “Start” to start the service on your computer.
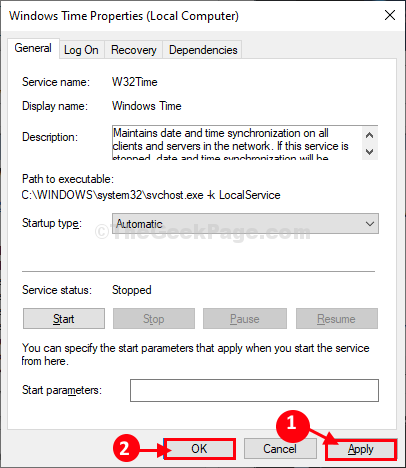
6. Finally, click on “Apply” and then on “OK” to save the changes.
Close Services window.
Reboot your computer to witness the changes on your computer.
After rebooting check the time and date settings on your computer.
Fix-3 Set time according to Internet Time settings-
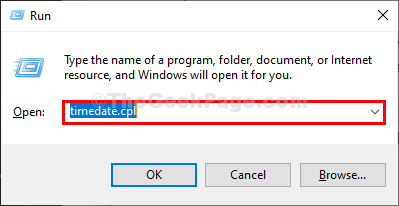
1. Press Windows key+R to launch the Run window on your computer.
2. Type this run command in the Run window and then hit Enter. The date and Time window will be opened.
timedate.cpl
2. In the Date and Time window, go to the “Internet Time” tab and then click on “Change settings…“.

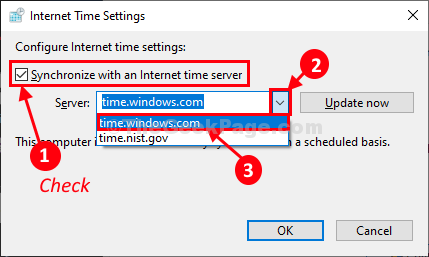
3. In the Internet Time Settings window, check the option “Synchronize with an Internet time server“.
4. Now, click on ‘Server:‘ and choose “time.windows. com” server from the drop-down.
5. Then click on “Update Now“. Finally, click on “OK” to save the changes on your computer.
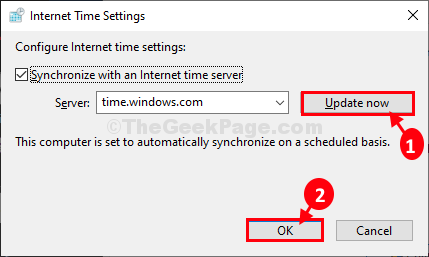
6. In the Date and Time settings window, click on “Apply” and “OK” to save the changes on your computer.

Close Settings window. Check if you are still facing the same problem at your end or not. Your problem should be solved.
Fix-4 Reset w32time.dll from CMD-
Res-registering w3time.dll from Command Prompt may work out for you.
1. Click on the Search box beside the Windows icon and then type “cmd“.
2. Then, right-click on “Command Prompt” in the elevated search result and choose “Run as administrator“.
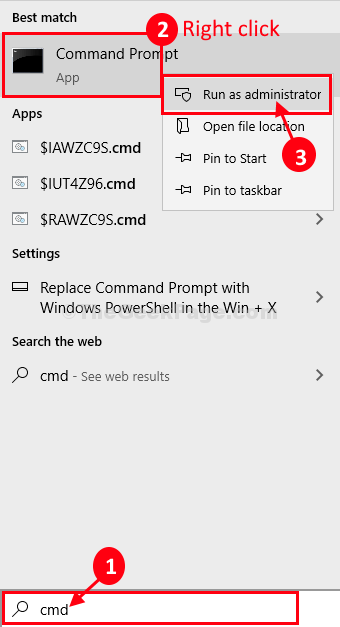
Command Prompt with administrative rights will be opened.
3. In Command Prompt window, copy-paste this command and then hit Enter to execute it on your computer.
regsvr32 w32time.dll
After executing the command, close the Command Prompt window.
Restart your computer to save the changes.
Check if it works or not.
Fix-5 Set time and date manually-
If nothing is working out, set time and date manually-
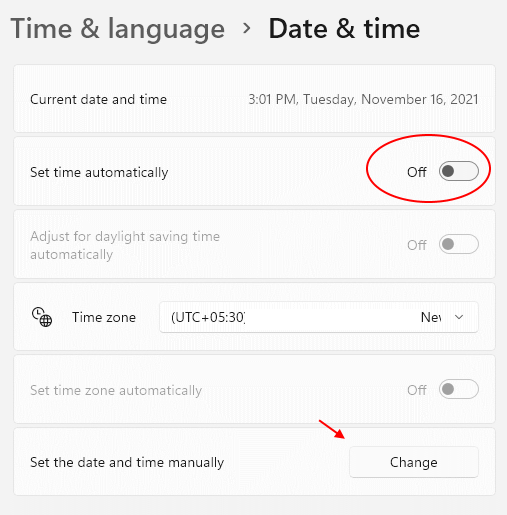
1 – Open Windows search and Type Change the date and time in it and click on search result.
2 – Now, Turn Off Set Time automatically option to off.
Now, click on change.
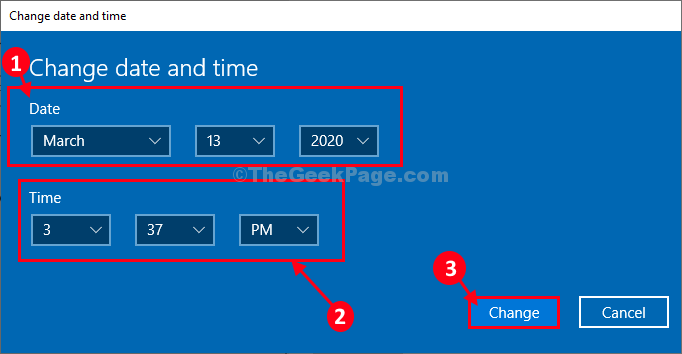
For Windows, 11 users screenshot will look like the one given below
5. In the Change date and time window, click on “Date” to change the date to the actual date.
6. Repeat the same feat for “Time” by setting the right time.
7. Now, Click on “Change“.
8. Now, in the Settings window, scroll down and find ‘Time Zone‘.
9. Click on the drop-down and then select the time zone you are currently in*.
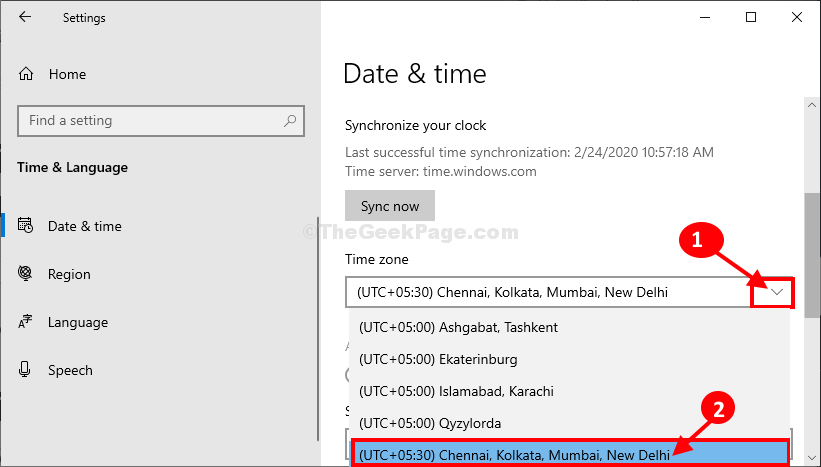
*NOTE– You will notice the same time zone for a variety of locations. Choose the particular time zone where you are.
- Close Settings window.
- Now, reboot your computer.
- After rebooting check the time and date settings.
- Your problem will be solved.
Fix-6 Using Registry Editor
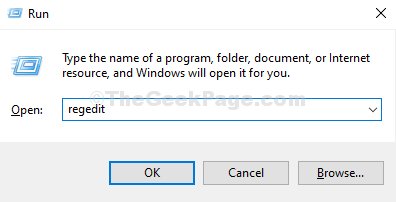
1. Press Windows key + R key together to open Run.
2. Now, Type Regedit in it and click OK.
3. After it opens up, before proceeding, take a registry backup.
Now, Move to the following location in the registry editor.
HKEY_LOCAL_MACHINE\SYSTEM\CurrentControlSet
4. Now, locate ControlTimeZoneInformation in the left menu, if it does not exist, Right-click on CurrentControlSet and create a new key.
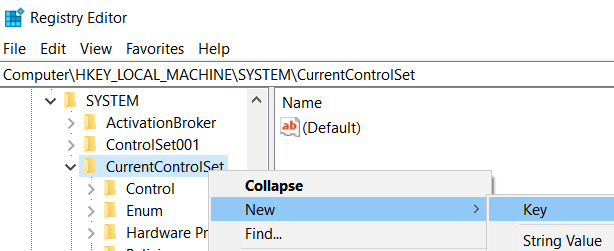
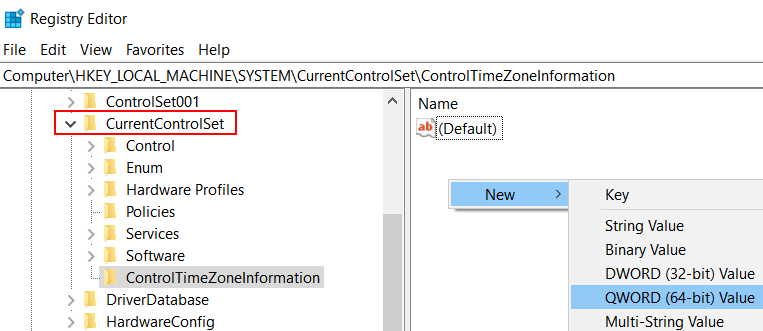
5. name it ControlTimeZoneInformation .
6. Now, on the right side, right-click on empty space anywhere and click on New > Dword (64 bit).
Name it as RealTimeIsUniversal .
7. Double click on RealTimeIsUniversal . Change Value data to 1.

Note: If still your problem is not solved, try to change your BIOS battery as it may be the reason behind this. As BIOS is having no battery backup, it fails to update time after the computer is shut down.
No comments:
Post a Comment